asp.net core篇
上一篇手把手教你写dotnet core(入门篇)我们已经简单在dotnet core里面跑了个"hello world!“和累加程序.
今天我们的步子迈大一点,直接上 ASP.NET Core了.
- ASP.NET Core 是一个新的开源和跨平台的框架,用于构建如 Web 应用、物联网(IoT)应用和移动后端应用等连接到互联网的基于云的现代应用程序。ASP.NET Core 应用可运行于 .NET Core 和完整的 .NET Framework 之上。 构建它的目的是为那些部署在云端或者内部运行(on-premises)的应用提供一个优化的开发框架。它由最小开销的模块化的组件构成,因此在构建你的解决方案的同时可以保持灵活性。你可以在 Windows、Mac 和 Linux 上跨平台的开发和运行你的 ASP.NET Core 应用。 ASP.NET Core 开源在 GitHub 上。
创建ASP.NET Core程序
- 开发环境: dotnet SDK + VS Code
这里还是直接使用dotnet new命令来创建ASP.NET Core项目, 终端中输入"dotnet new web -n FirsrMVC”.
自动创建FirsrMVC文件夹并生成对应的csproj和CS文件,具体操作和输出信息如下:
 1
 2
 3
 4
 5
 6
 7
 8
 9
10
11
12
13
14
15
16
| ➜ codelover-blog git:(master) ✗ dotnet new web -n FirsrMVC
The template "ASP.NET Core Empty" was created successfully.
This template contains technologies from parties other than Microsoft, see https://aka.ms/template-3pn for details.
Processing post-creation actions...
Running 'dotnet restore' on FirsrMVC/FirsrMVC.csproj...
Restoring packages for /Users/liguobao/code/codelover-blog/FirsrMVC/FirsrMVC.csproj...
Generating MSBuild file /Users/liguobao/code/codelover-blog/FirsrMVC/obj/FirsrMVC.csproj.nuget.g.props.
Generating MSBuild file /Users/liguobao/code/codelover-blog/FirsrMVC/obj/FirsrMVC.csproj.nuget.g.targets.
Restore completed in 1.97 sec for /Users/liguobao/code/codelover-blog/FirsrMVC/FirsrMVC.csproj.
Restore succeeded.
➜ codelover-blog git:(master) ✗ cd FirsrMVC
➜ FirsrMVC git:(master) ✗ ls
FirsrMVC.csproj Program.cs Startup.cs obj/ wwwroot/
|
Program.cs
在VS Code中打开FirsrMVC文件夹,简单看一下文件和Program.cs的代码
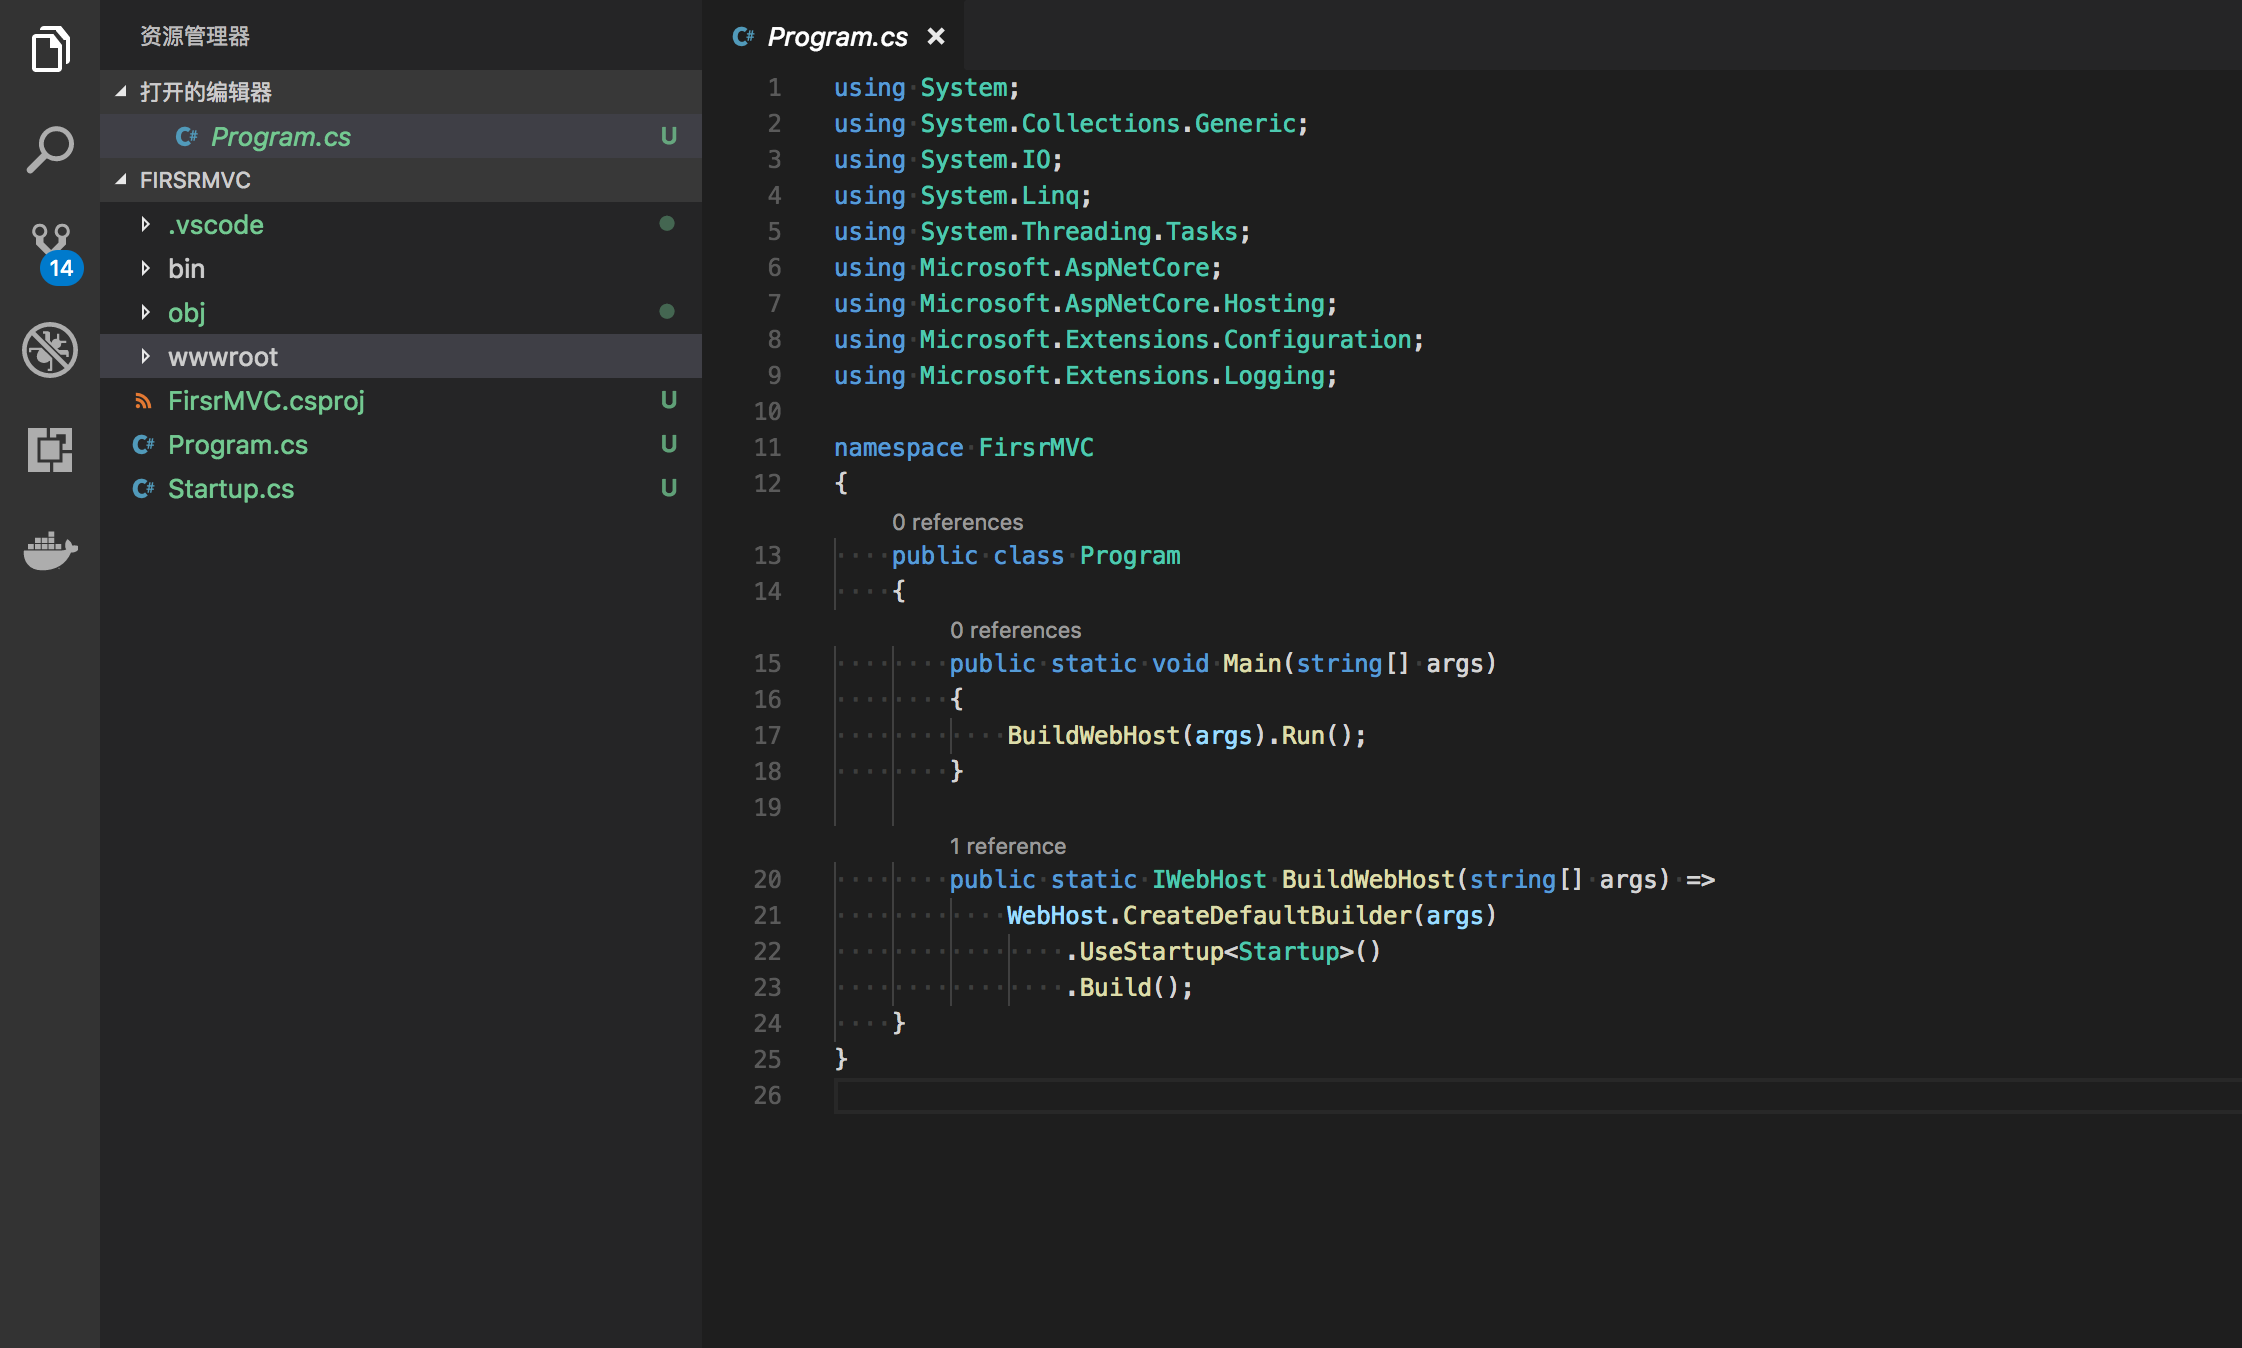
Program.cs依旧是Main主方法,然后调用了一下BuildWebHost方法,BuildWebHost返回一个IWebHost的实例,接着Run.
先不管这里具体做了什么事情,我们从语义上理解一下.
BuildWebHost构建一个Web的Host实例,然后把WebHost实例运行起来了
创建WebHost使用了一个Startup的类
关于详细WebHost的详细解析见:ASP.NET Core 运行原理解剖[1]:Hosting
Startup.cs
先直接上一波代码
 1
 2
 3
 4
 5
 6
 7
 8
 9
10
11
12
13
14
15
16
17
18
19
20
21
22
23
24
25
26
27
28
29
30
31
32
33
34
| using System;
using System.Collections.Generic;
using System.Linq;
using System.Threading.Tasks;
using Microsoft.AspNetCore.Builder;
using Microsoft.AspNetCore.Hosting;
using Microsoft.AspNetCore.Http;
using Microsoft.Extensions.DependencyInjection;
namespace FirsrMVC
{
public class Startup
{
// This method gets called by the runtime. Use this method to add services to the container.
// For more information on how to configure your application, visit https://go.microsoft.com/fwlink/?LinkID=398940
public void ConfigureServices(IServiceCollection services)
{
}
// This method gets called by the runtime. Use this method to configure the HTTP request pipeline.
public void Configure(IApplicationBuilder app, IHostingEnvironment env)
{
if (env.IsDevelopment())
{
app.UseDeveloperExceptionPage();
}
//直接往HTTP Response中写入"Hello World!",即在页面直接显示此字符
app.Run(async (context) =>
{
await context.Response.WriteAsync("Hello World!");
});
}
}
}
|
ConfigureServices:运行时被调用,将服务(services)添加到容器(container)中
Configure:运行时被调用, 配置HTTP request 的pipeline
嗯,看不懂?没关系,待会一个个演示.
我们这里还是直接先跑一下程序,FirsrMVC文件夹路径下执行:dotnet run
输出如下:
1
2
3
4
5
| ➜ FirsrMVC git:(master) ✗ dotnet run
Hosting environment: Production
Content root path: /Users/liguobao/code/codelover-blog/FirsrMVC
Now listening on: http://localhost:5000
Application started. Press Ctrl+C to shut down.
|
然后访问http://localhost:5000看看.
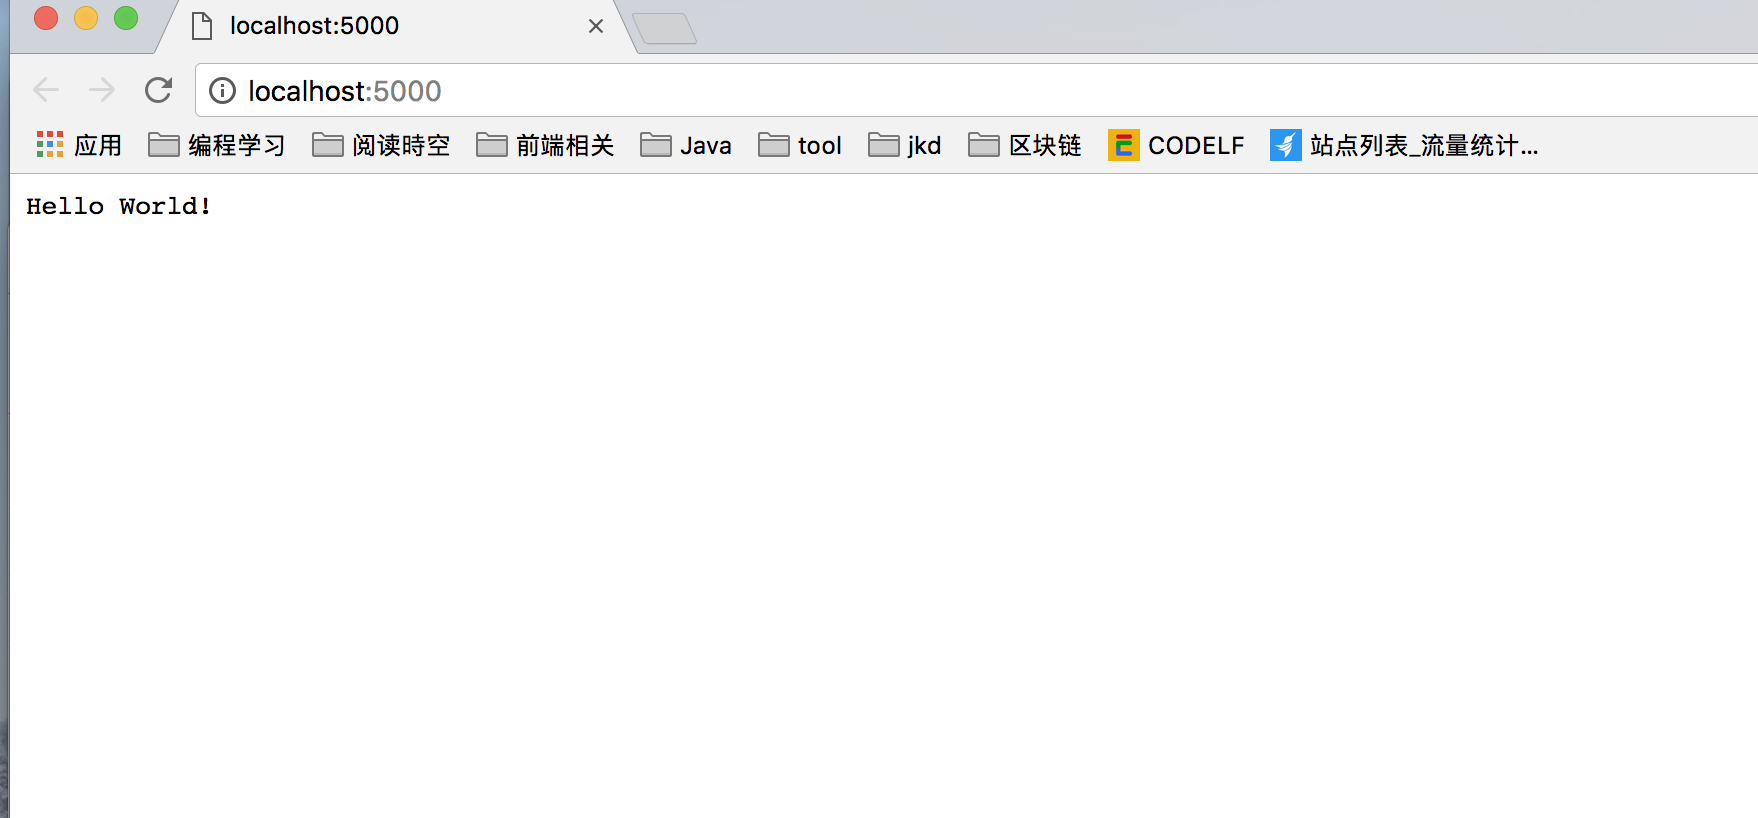
好了,第一个MVC程序已经跑起来了,本文结束.逃…
这里应该还有人吧?那我们继续了.
wwwroot中的静态文件
在wwwroot文件夹新增first.html,随便写个能看见的HTML标签(我写的是p标签)
在 Configure 方法中添加一句 app.UseStaticFiles(); 然后再重新运行一下
访问http://localhost:5000/first.html
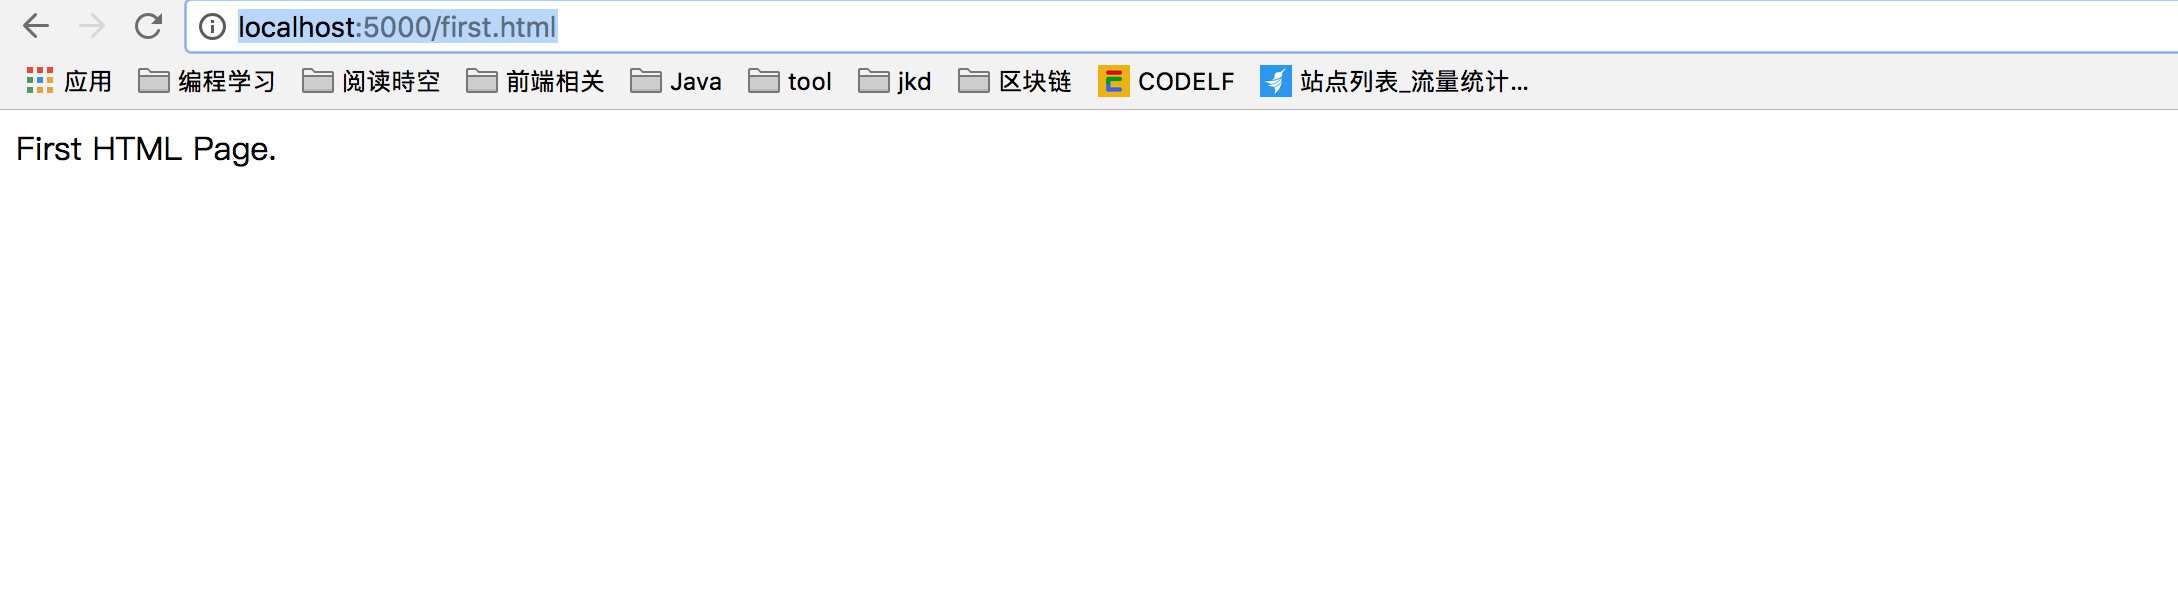
本步骤完成.
UseStaticFiles()方法:调用一个读取wwwroot文件夹下面的静态文件输出的中间件注册到程序中,从而完成静态文件的输出.
这里也告诉我们,ASP.NET Core的静态文件(JS+CSS+图片…)之类的都可以放这边来.
甚至于如果简单做前后端分离的话,前端的vue/react项目都可以扔这里去.
重头戏MVC
终于要讲到MVC了.
MVC模式最早由Trygve Reenskaug在1978年提出[1],是施乐帕罗奥多研究中心(Xerox PARC)在20世纪80年代为程序语言Smalltalk发明的一种软件架构。MVC模式的目的是实现一种动态的程式设计,使后续对程序的修改和扩展简化,并且使程序某一部分的重复利用成为可能。除此之外,此模式通过对复杂度的简化,使程序结构更加直观。软件系统通过对自身基本部分分离的同时也赋予了各个基本部分应有的功能。专业人员可以通过自身的专长分组:
- 控制器(Controller)- 负责转发请求,对请求进行处理。
- 视图(View) - 界面设计人员进行图形界面设计。
- 模型(Model) - 程序员编写程序应有的功能(实现算法等等)、数据库专家进行数据管理和数据库设计(可以实现具体的功能)。
以上概念来自维基百科:MVC
在ASP.NET Core,MVC模型一般就对应着三个文件夹,Models/Views/Controllers.
Models:存放一些业务实体类,如Student,Course等,表现上就是C#的.cs文件
Views:存放CSHTML文件,ASP.NET Core的模板文件,类HTML,也可以写C#代码
Controllers: cs文件,继承Controller类的XXXController,实现业务逻辑代码
下面一起来写一个简单的MVC玩玩.
Startup
修改 Startup.cs的代码,新增MVC中间件的引用,操作如下:
Startup.cs中的ConfigureServices方法下新增:services.AddMvc();
Configure方法下去掉之前的UseMvc,改成
1
2
3
4
5
6
| app.UseMvc(routes =>
{
routes.MapRoute(
name: "default",
template: "{controller=Home}/{action=Index}/{id?}");
});
|
全部代码如下:
1
2
3
4
5
6
7
8
9
10
11
12
13
14
15
16
17
18
19
20
21
22
23
24
25
26
27
28
29
30
31
32
33
34
35
36
37
38
39
40
41
42
43
44
45
46
47
48
49
50
|
using System;
using System.Collections.Generic;
using System.Linq;
using System.Threading.Tasks;
using Microsoft.AspNetCore.Builder;
using Microsoft.AspNetCore.Hosting;
using Microsoft.Extensions.Configuration;
using Microsoft.Extensions.DependencyInjection;
namespace FirsrMVC
{
public class Startup
{
public Startup(IConfiguration configuration)
{
Configuration = configuration;
}
public IConfiguration Configuration { get; }
// This method gets called by the runtime. Use this method to add services to the container.
public void ConfigureServices(IServiceCollection services)
{
services.AddMvc();
}
// This method gets called by the runtime. Use this method to configure the HTTP request pipeline.
public void Configure(IApplicationBuilder app, IHostingEnvironment env)
{
if (env.IsDevelopment())
{
app.UseDeveloperExceptionPage();
}
else
{
app.UseExceptionHandler("/Home/Error");
}
app.UseStaticFiles();
 app.UseMvc(routes =>
            {
                routes.MapRoute(
                    name: "default",
                    template: "{controller=Home}/{action=Index}/{id?}");
            });
}
}
}
|
Controllers
新增Controllers文件夹,在此文件下新建HomeController.cs文件,然后填入一下代码:
 1
 2
 3
 4
 5
 6
 7
 8
 9
10
11
12
13
14
15
16
17
18
19
20
21
22
23
| using System;
using System.Collections.Generic;
using System.Diagnostics;
using System.Linq;
using System.Threading.Tasks;
using Microsoft.AspNetCore.Mvc;
namespace FirsrMVC.Controllers
{
public class HomeController : Controller
{
public IActionResult Index()
{
return View();
}
public IActionResult About()
{
return Json(new { name = "我的名字", success = true });
}
}
}
|
到这里,我们先运行一下代码.
如无意外的话,
访问http://localhost:5000/ 空白一片,
访问http://localhost:5000/Home/About 会输出
1
2
3
4
| {
"name": "我的名字",
"success": true
}
|
其实这里访问的是http://localhost:5000/Home/Index,对应方法是HomeController/Index
我们看一下Log输出会发现这样的一句错误"fail: The view ‘Index’ was not found. Searched locations: /Views/Home/Index.cshtml, /Views/Shared/Index.cshtml"
原因是HomeController中的Index返回的是View,
程序默认就会去/Views/目录下寻找/Home/Index.cshtml文件来渲染然后返回给浏览器,但是这里我们并没有这个文件,所以直接GG.
对应方法是HomeController/About,返回为Json数据,不需要View.
所以直接就往浏览器输出了{ name = “我的名字”, success = true }的Json格式数据
Views
上一步我们的的Controller已经建好了,但是缺View文件,我们这里来创建一下View文件
新建Views/Home文件夹,然后再在此文件夹下新增Index.cshtml文件
然后在Index.cshtml中输入:
1
| <p>First View Page</p>>
|
刷新一下http://localhost:5000/页面.
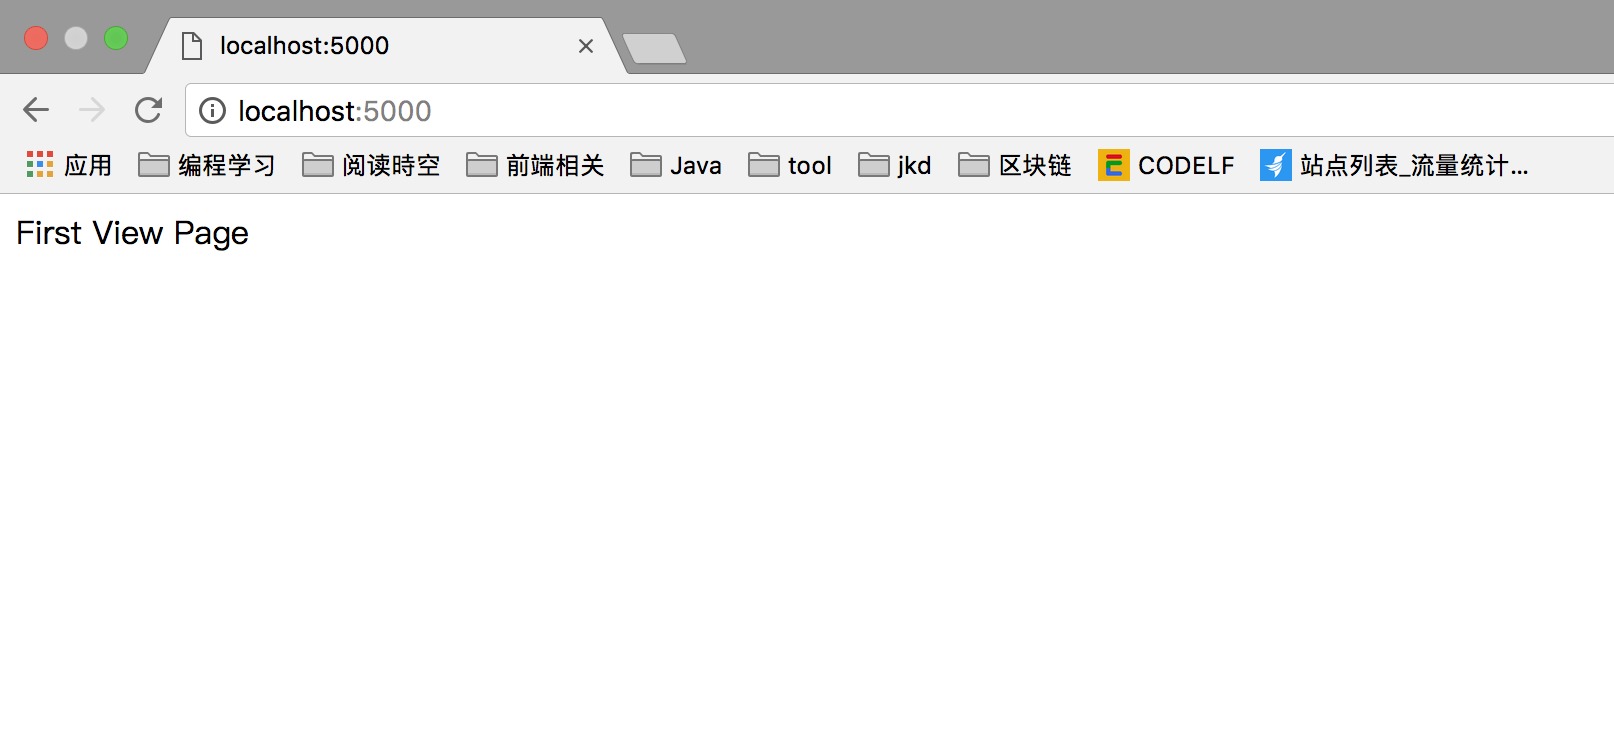
View文件也建立好了.
Models
最后简单讲一下Model.
同理,新建Models文件夹,在此文件夹下新增Student.cs文件.
 1
 2
 3
 4
 5
 6
 7
 8
 9
10
|
namespace FirsrMVC
{
    public class Student
    {
        public string Name { get; set; }

        public int Age { get; set; }
    }
}
|
我们想做的要做的是把Student信息通过Controller返回给View,然后用View渲染出来.
修改一下HomeController/Index方法:
1
2
3
4
5
| public IActionResult Index()
{
Models.Student student = new Models.Student() { Name = "小明", Age = 16 };
return View(student);
}
|
修改一下Views/Home/Index.cshtml
1
2
3
4
5
6
7
8
| @model FirsrMVC.Models.Student
@if(Model !=null)
{
<p>@Model.Name<span>今年</span>@Model.Age<span>岁</span></p>
}else
{
<p>这里什么都没有.</p>
}
|
重新运行一下程序,访问http://localhost:5000/
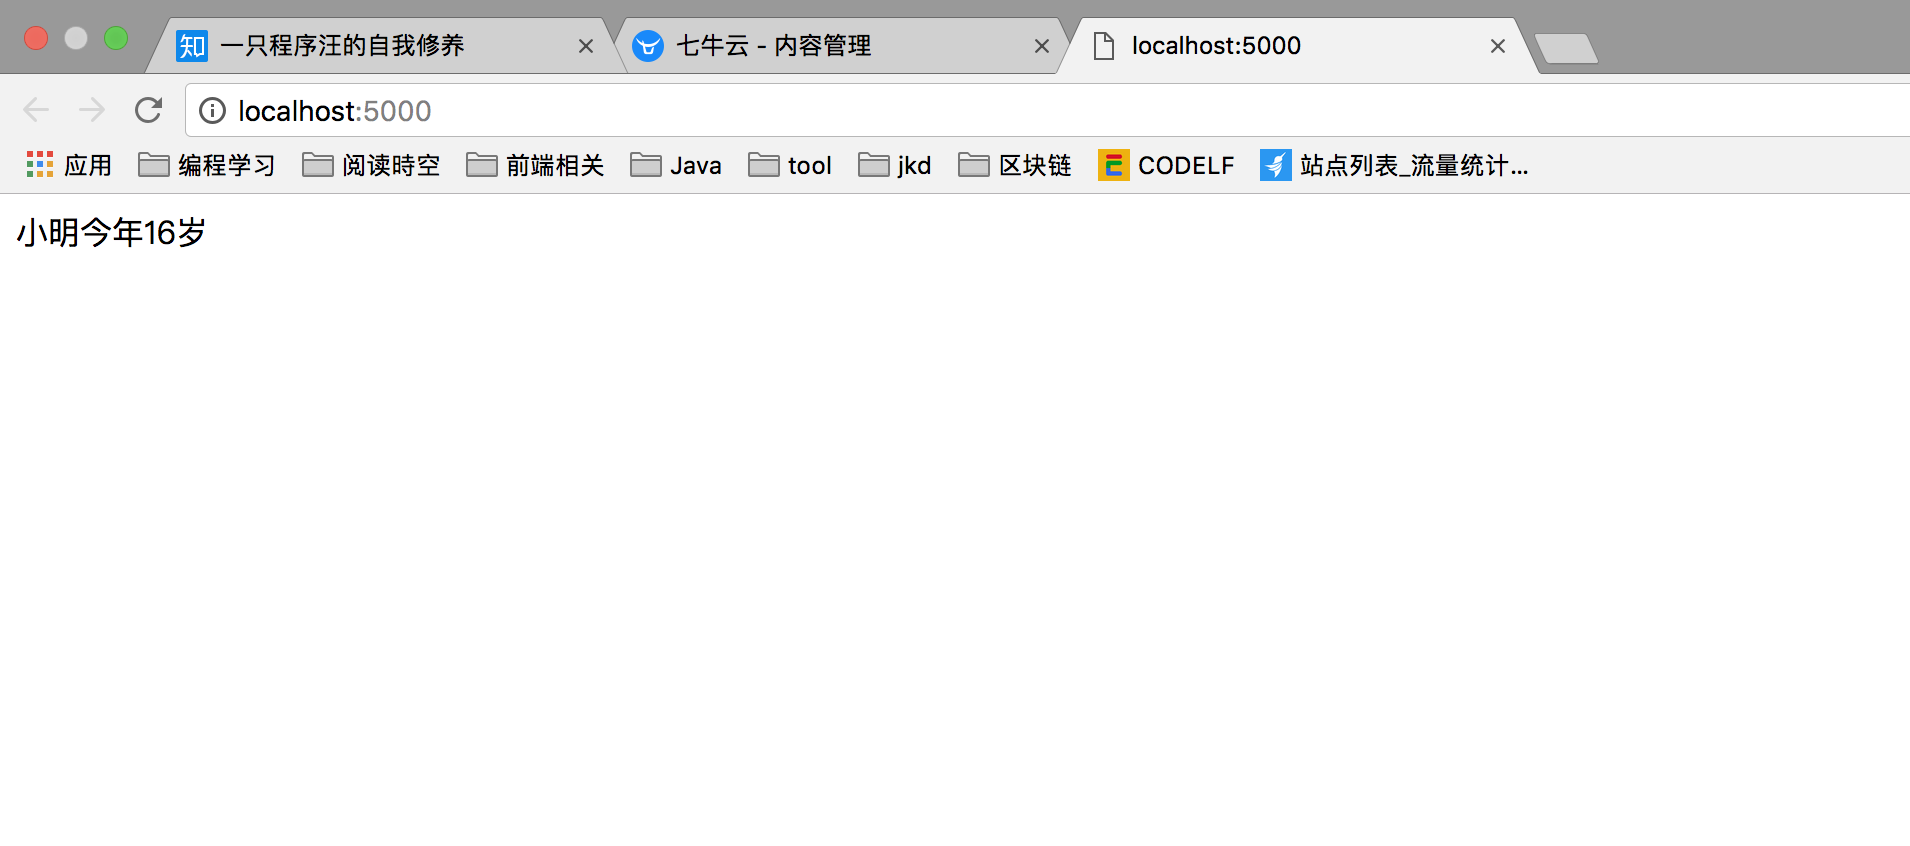
MVC结束.
本文完.
下一节配置文件+DI依赖注入.